
Have you ever thought of customizing your BSD classroom by adding a PDF of your choice? Here at BSD Education, we help support the creativity of the teacher and to make them feel that they have a personal touch to their own online classroom. Introducing the addition of PDF custom to your classroom. Simply follow the steps after logging into BSD online:
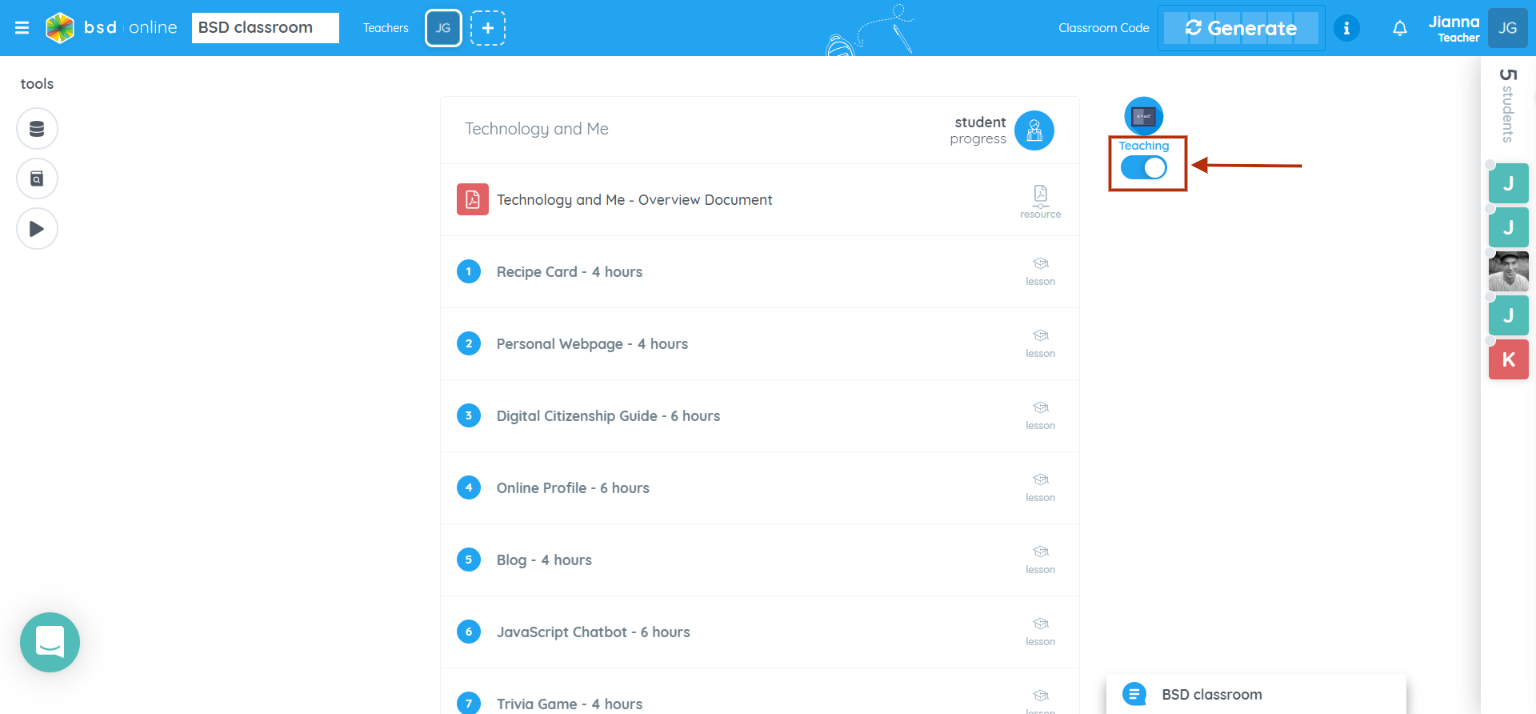
Step 1: Click the lock icon to unlock the classroom content.
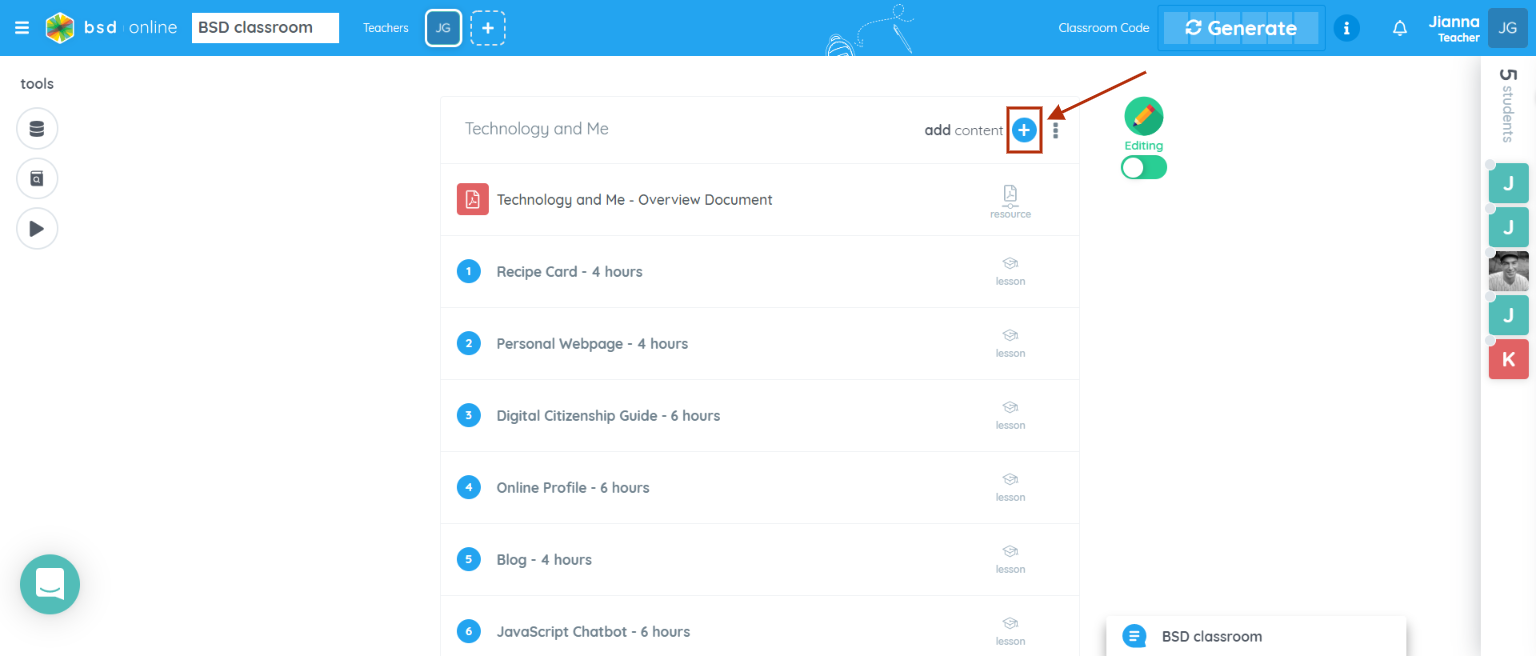
Step 2: Now that the classroom is unlocked, click the “+” icon to add the additional content.
Step 3: A sliding menu will appear on the right side of the screen. At the extreme right of the menu, the Custom tab is located, click to view the available custom add-ons.
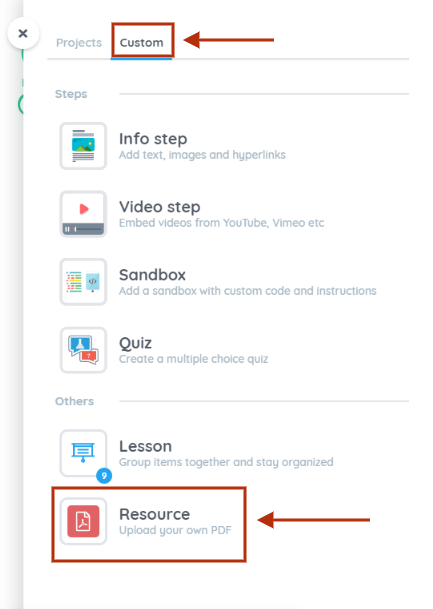
Step 4: Click on Resource to upload a PDF from your computer.

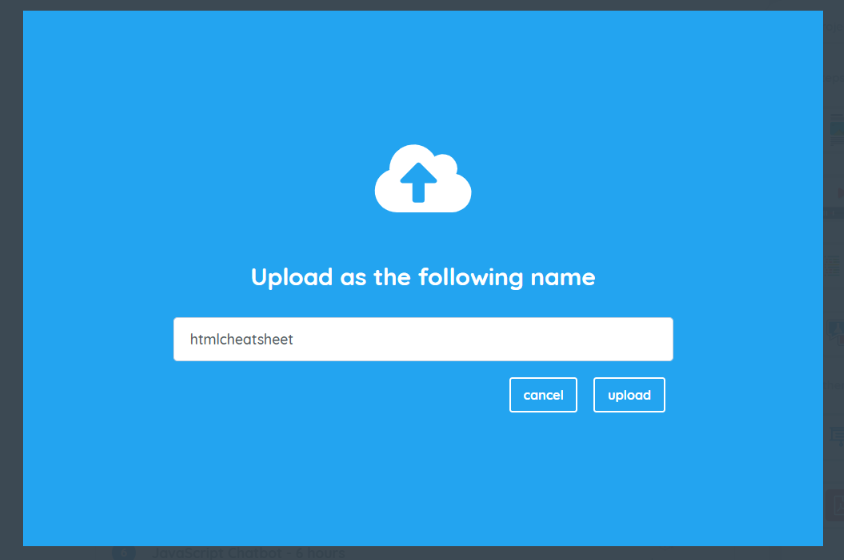
4a: Hit the upload button.
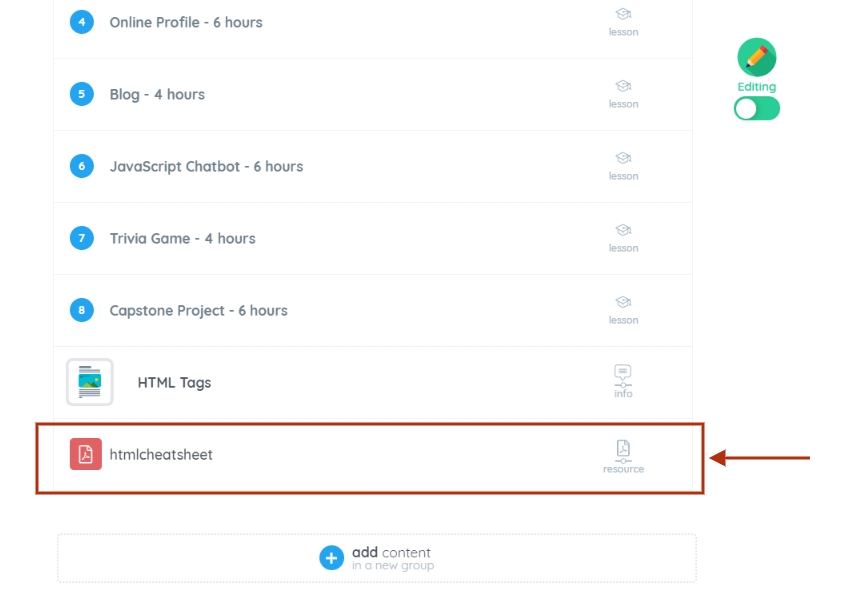
Step 5: Finally, the PDF is added to your classroom. Don’t forget to lock the classroom content to avoid any accidental changes.
Note: Custom PDFs can be added in a classroom as stand-alone content. This means that you can add a Custom PDF even if your classroom does not contain any BSD course or project.
The added PDF is visible to both teachers and students. Thus, if a teacher wishes to move it to “teacher-only” view, here are the steps to follow:
Step 1: Make sure the lock icon is set to unlock.
Step 2: Hover over the PDF and you will see the three vertical dots next to the resources icon. Click that to see the options – Move to teacher-only and Remove.
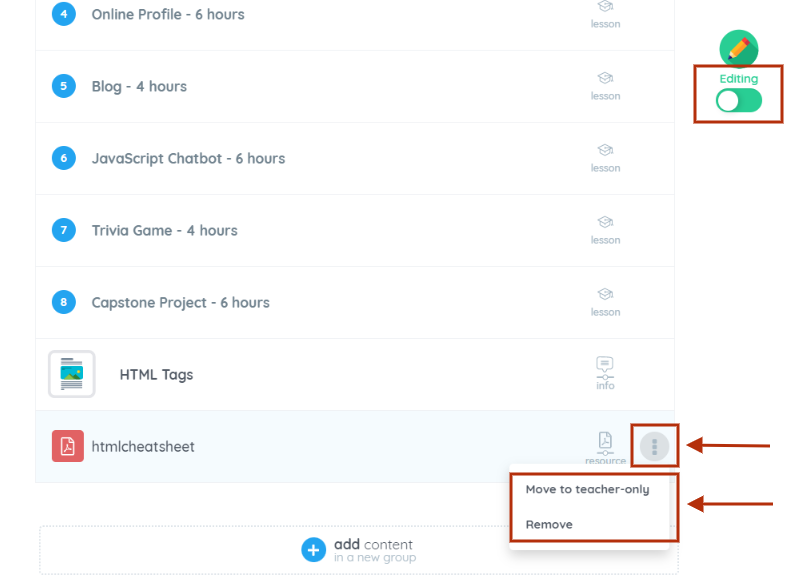
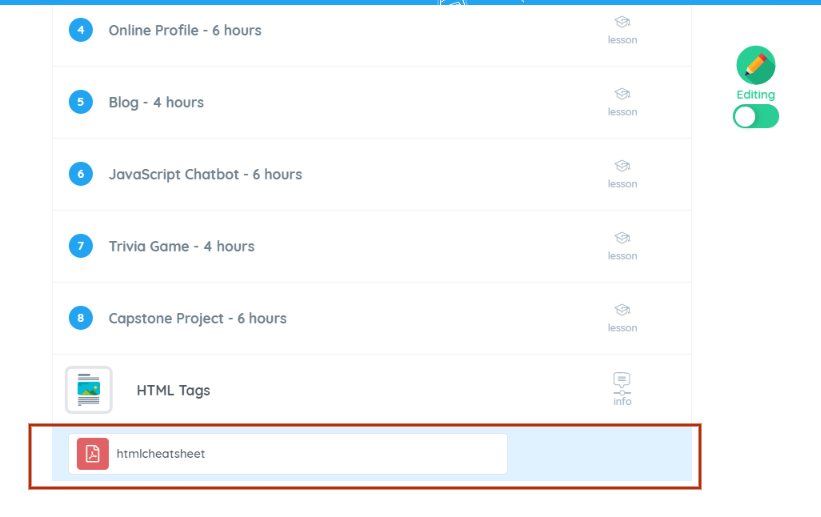
2a: Move to teacher-only – this allows the teacher to make a PDF visible only to teachers. After clicking the “Move to teacher-only” button, notice that the resources icon was removed.
Teacher-only view
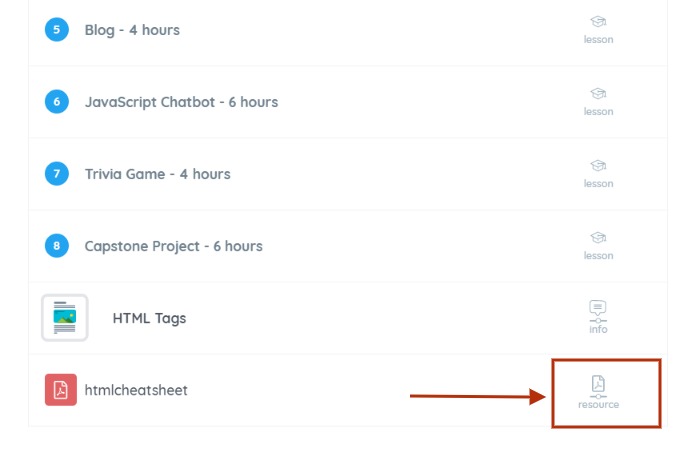
Student and teacher view
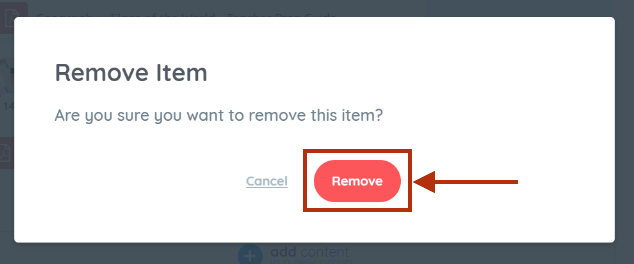
2b: To remove – click the “Remove” option and confirm the action.
If you have further questions regarding this feature, don’t hesitate to reach us through chat!