
Sandbox Extensions can be used to provide instructions once students leave a Guided Project and enter Sandbox. Teachers can add text, images, and code snippets. This BSD feature is to assist teachers in providing instructions on what students can do or add further to their projects.
Through the instructions given by the teacher, students can customize a project after its completion which also gives students the opportunity to make their work even better.
Now let’s move on to the steps on how to add sandbox extension to your project.
Step 1.
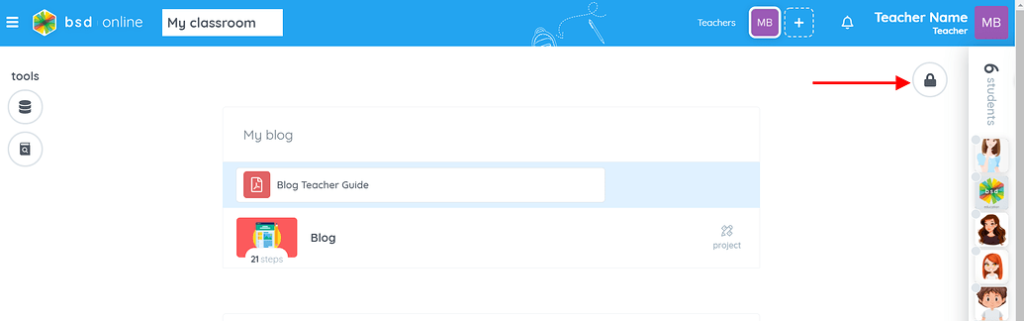
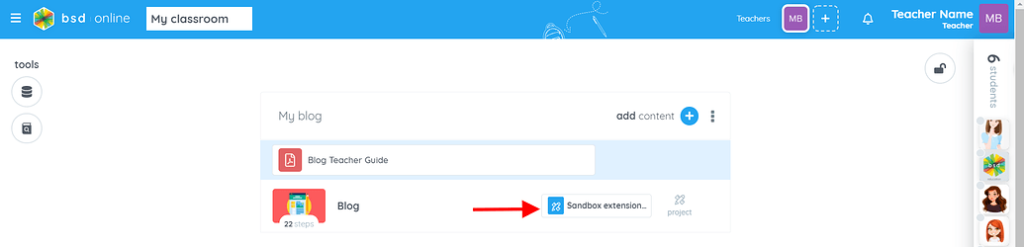
For instance, I want to add instructions to the “Blog” project. First, unlock the contents of the classroom by clicking the lock button on the top right of your screen.
Step 2.
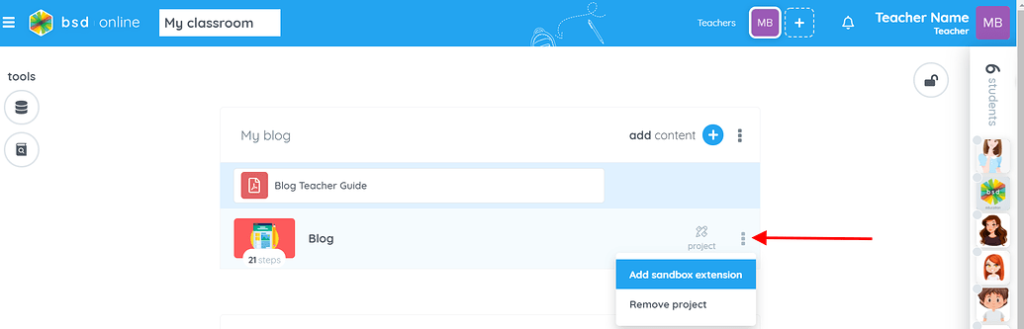
Then you will be able to see the 3 dots that will give you options in which you can “Add sandbox extension” or “Remove project”. You will need to click on “Add sandbox extension”.
Step 3
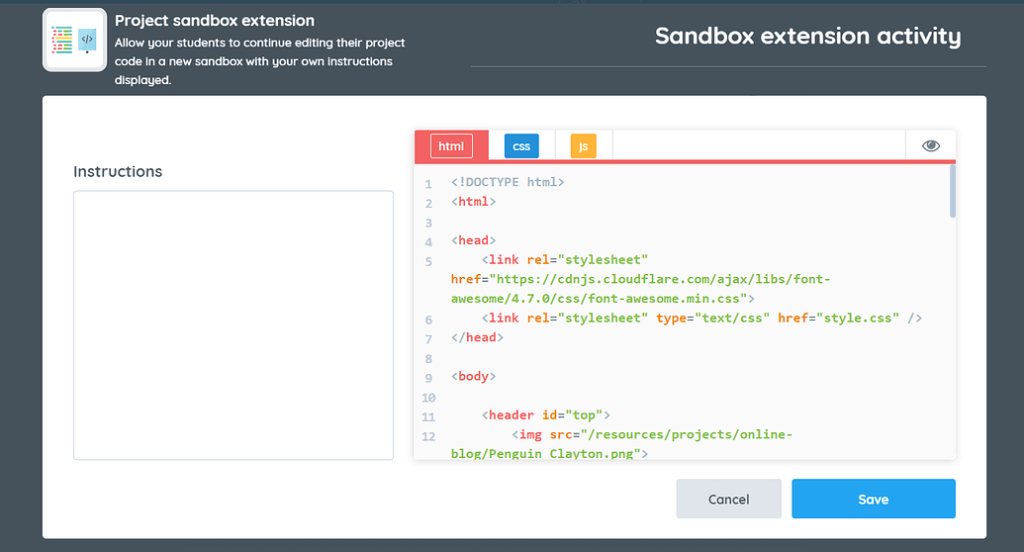
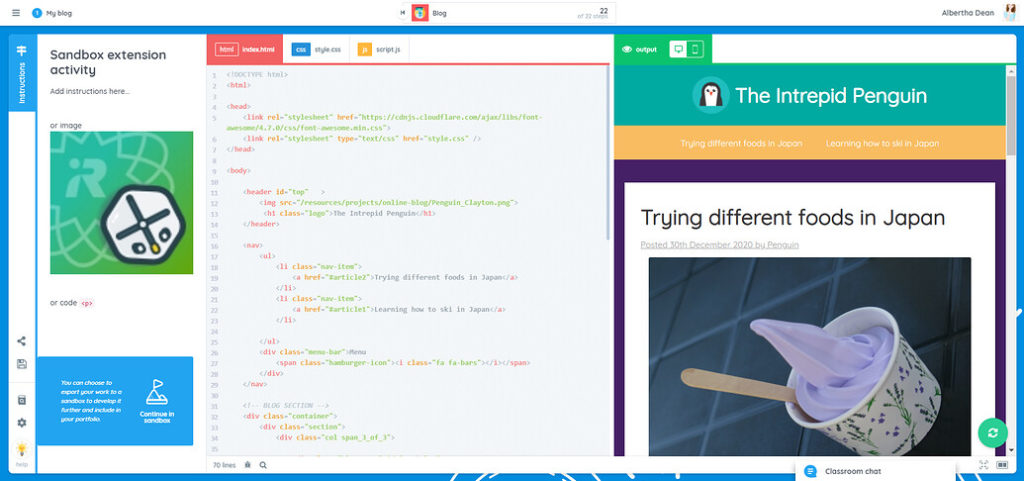
After you click on “Add sandbox extension”, a new window will pop up where the teacher can define and create instructions. Do not forget to click on the “Save” button.
Here’s a gif to guide you on how to add instructions.
Finally, you can now see that you have added your sandbox extension to the project.
How does it look to my students’ screen? After the students finish the last step or the summary step of a project, they can click on the “next” button and see the instructions the teacher created.
If you have any questions or concerns, feel free to contact us at intercom chat or send an email to support@bsd.education.